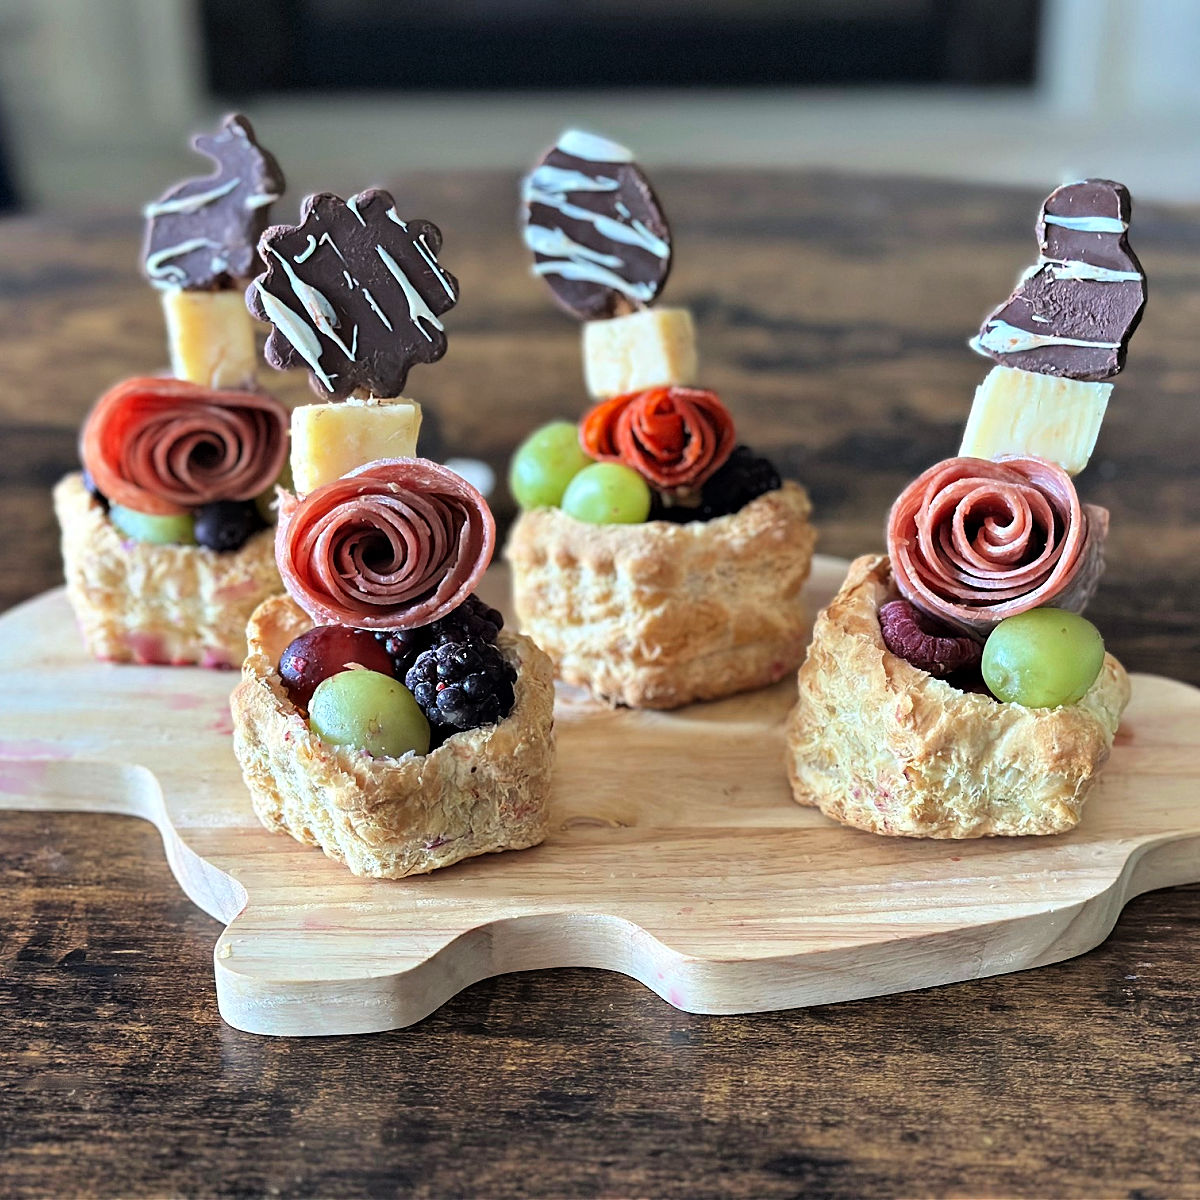
Individual Charcuterie Cups for Easter: Cute, Easy, and Delicious!
Individual charcuterie cups, topped with homemade chocolates, make the sweetest little place setting treats for Easter or spring.
This post contains affiliate links at no extra cost to you. Please see my full disclosure here.
Individual Charcuterie Cups
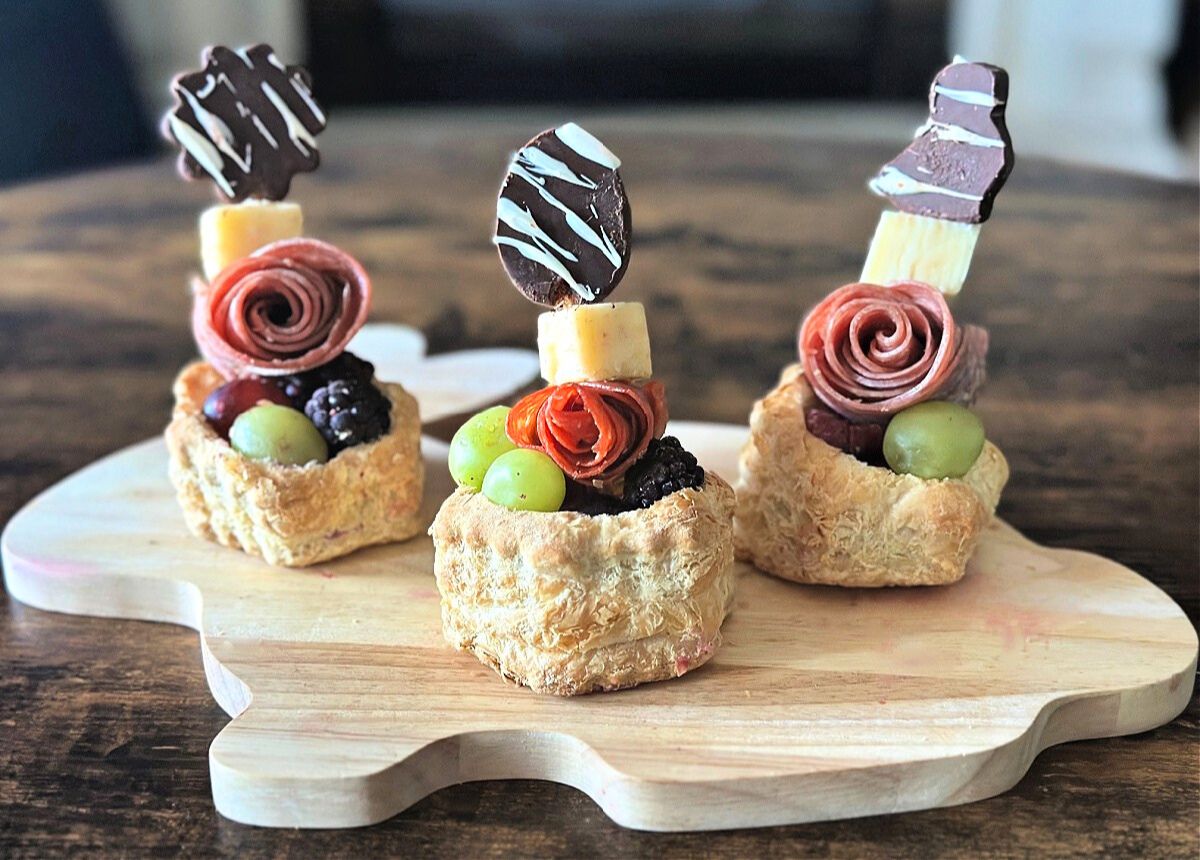
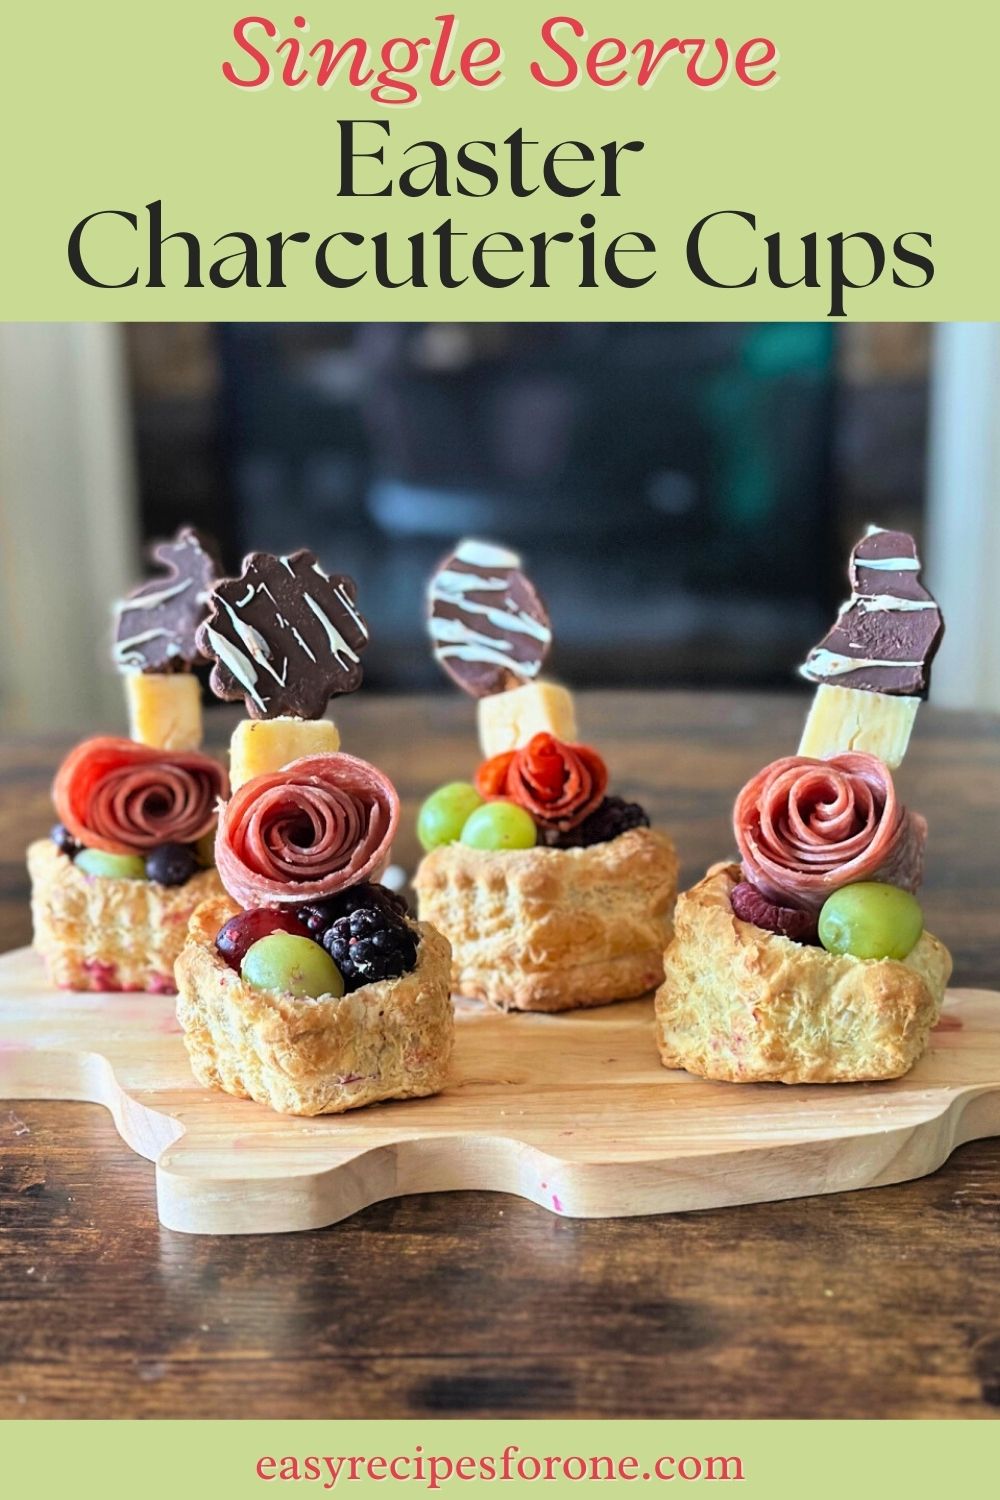
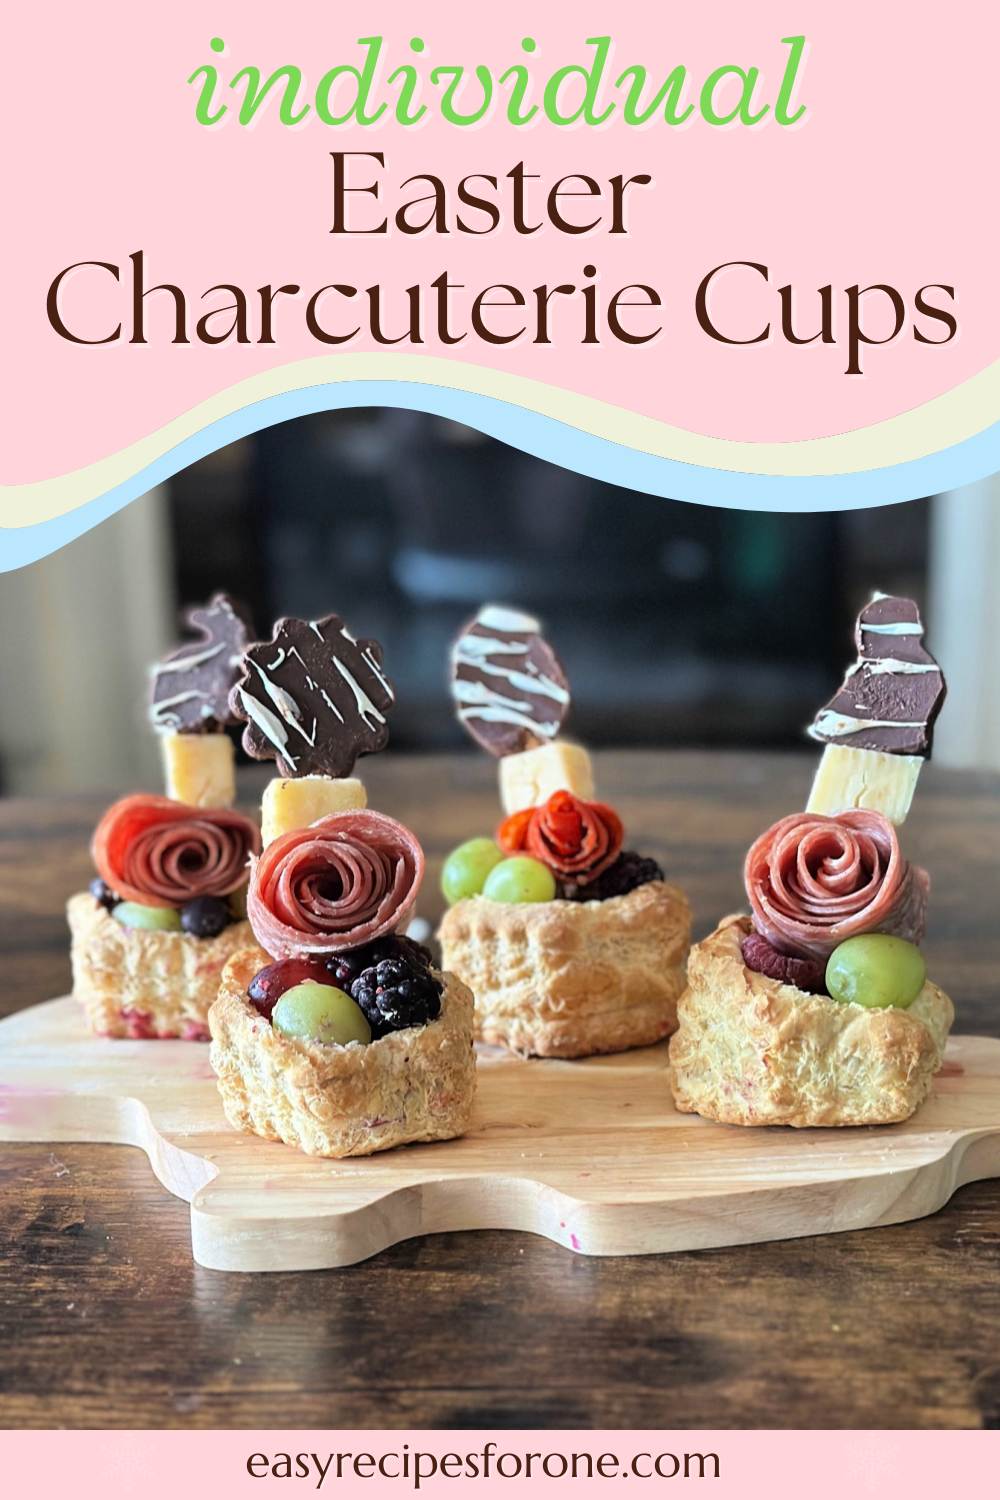
These adorable individual charcuterie cups make a great place setting or perfect grab-and-go snack for your holiday gathering.
Fill them with a mix of sweet and savory goodies—think pepperoni roses, cheeses, spring fruits, and Easter shaped chocolates—these mini cups are as cute as they are delicious.
Whether you’re hosting brunch, Easter dinner, or a springtime party, these single serve cups add a fun and elegant touch to your spread.
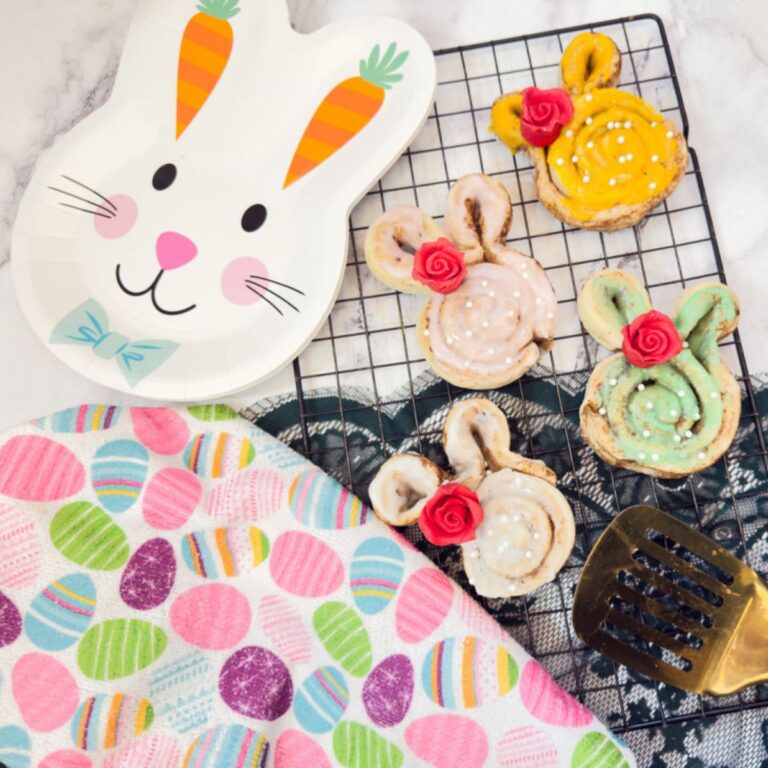
Get creative, mix and match flavors, and bring a little extra charm to your Easter table! For another Easter brunch treat, try these bunny cinnamon rolls.
Ingredients
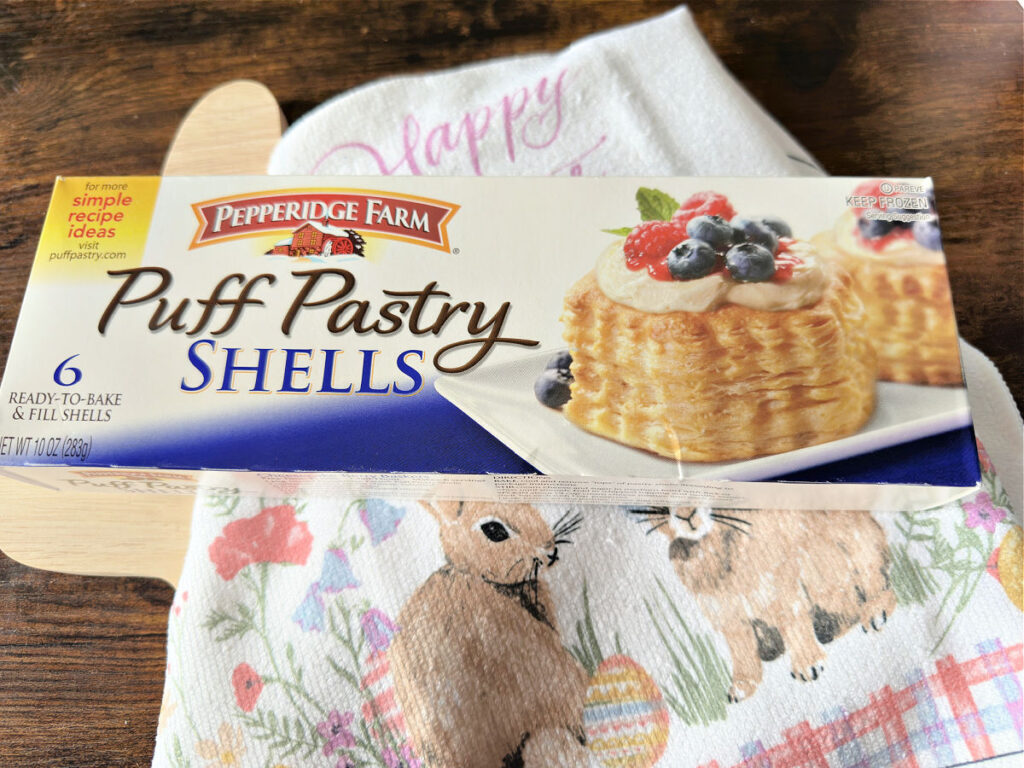
- Puff Pastry Shells
- Fruit – I used grapes, blackberries, blueberries and raspberries
- Meat Roses – I went with salami and pepperoni
- Cheese – sharp white cheddar and pepper Jack
- Easter chocolates – homemade using cookie cutters and chocolate wafers
Kitchen Supplies
How to Make Individual Charcuterie Cups
The base of the charcuterie basket is a puff pastry shell. The size and shape are perfect for Easter treats.
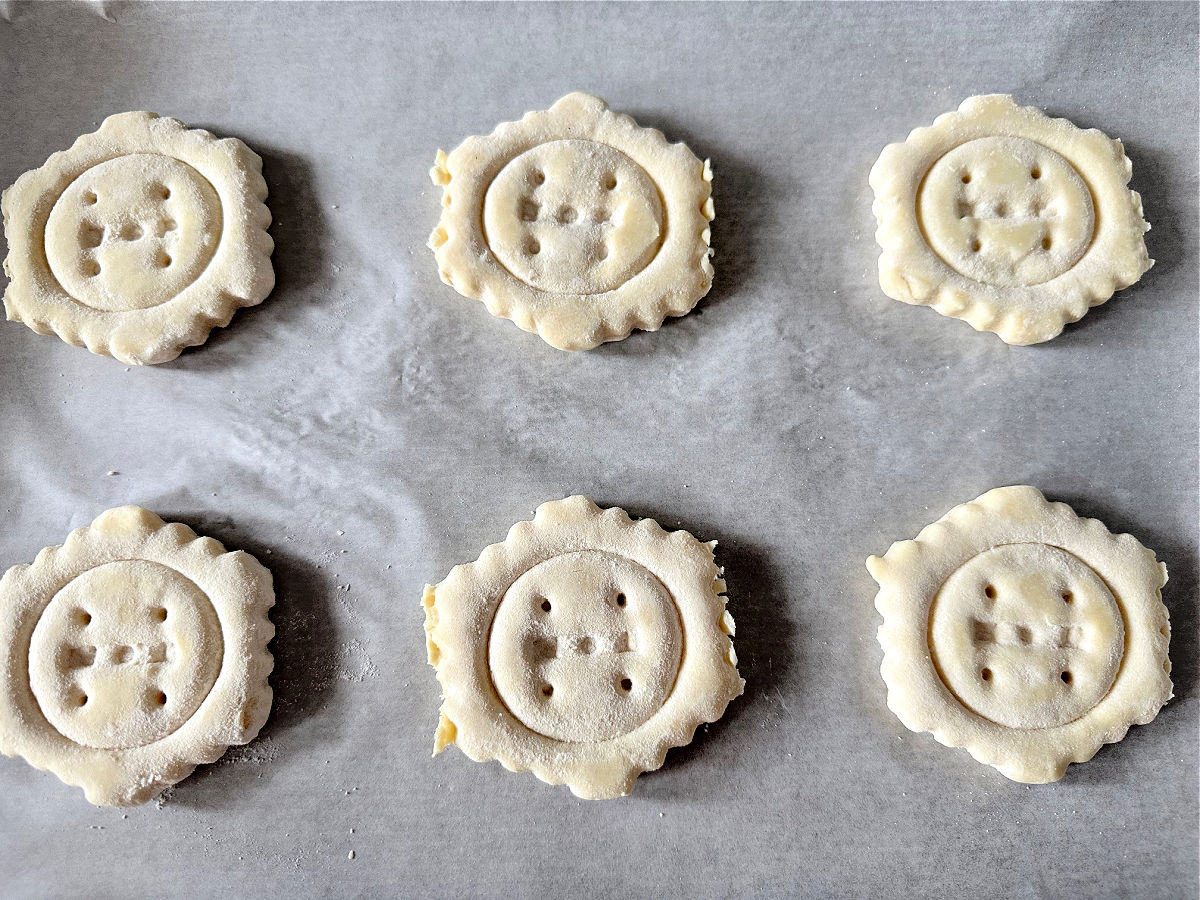
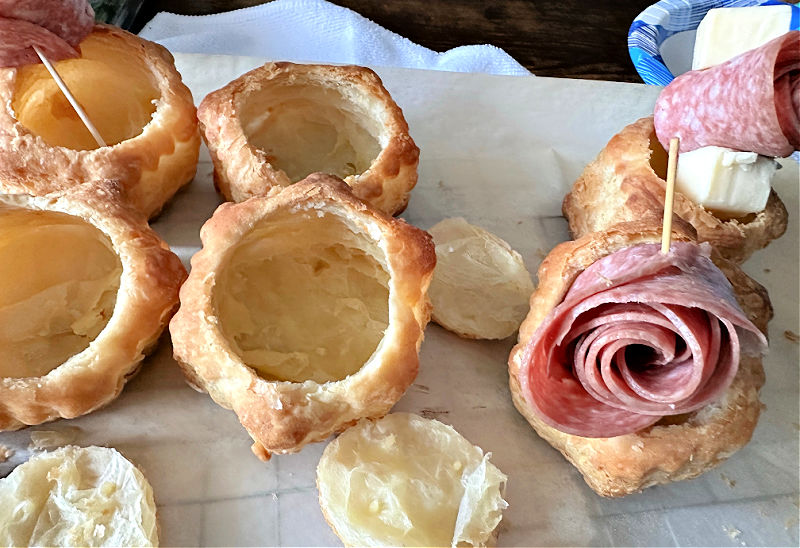
Step 1. Separate the Pastry Shells
Place each pastry shell onto a baking sheet lined with parchment paper.
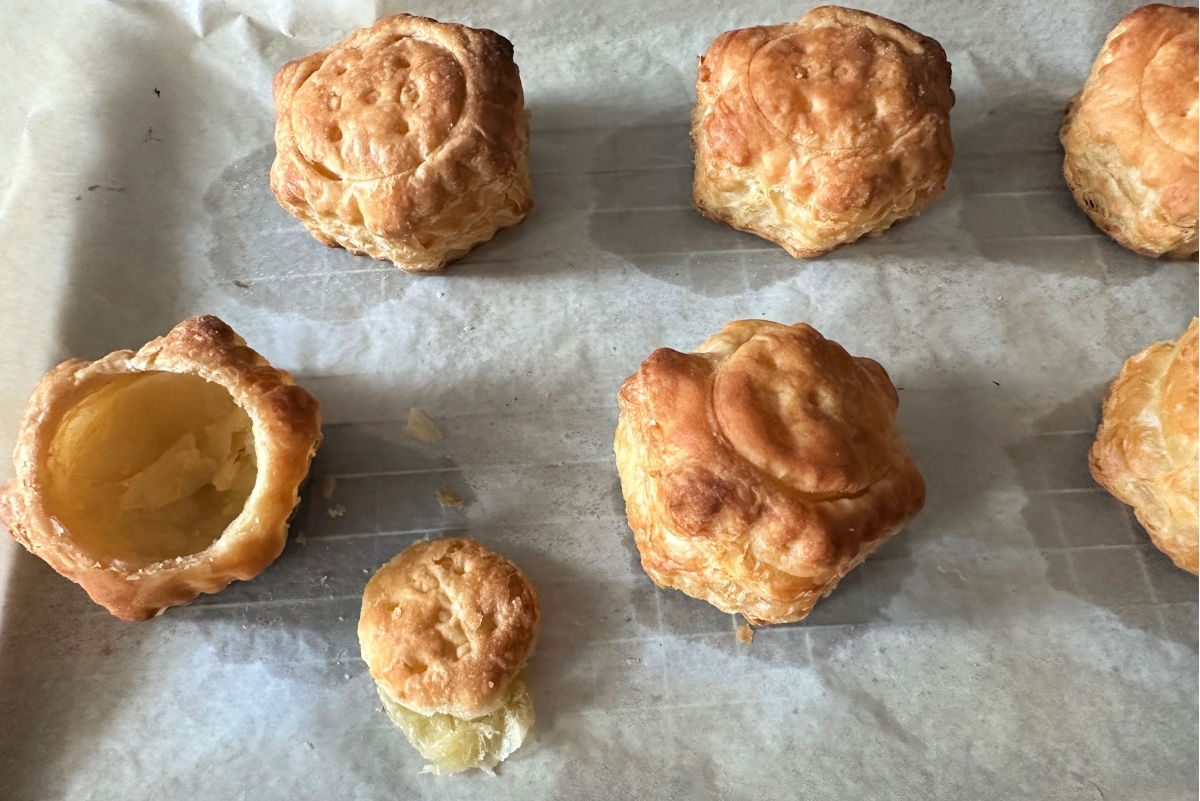
Step 2. Bake the Puff Pastry Shells
Bake the shells in a pre-heated oven of 425°F according to the instructions for the puff pastry shells you are using.
I went with Pepperidge Farm and 15 minutes was just right for golden brown shells. Let them cool on a wire rack.
Step 3. Prepare the Charcuterie Ingredients
While the shells are cooling, put together the ingredients you want to use in your cups.
Fold slices of pepperoni and salami into roses and place them on a skewer along with hard cheese cut into bite-sized pieces.
Step 4. Fill Pastry Cups
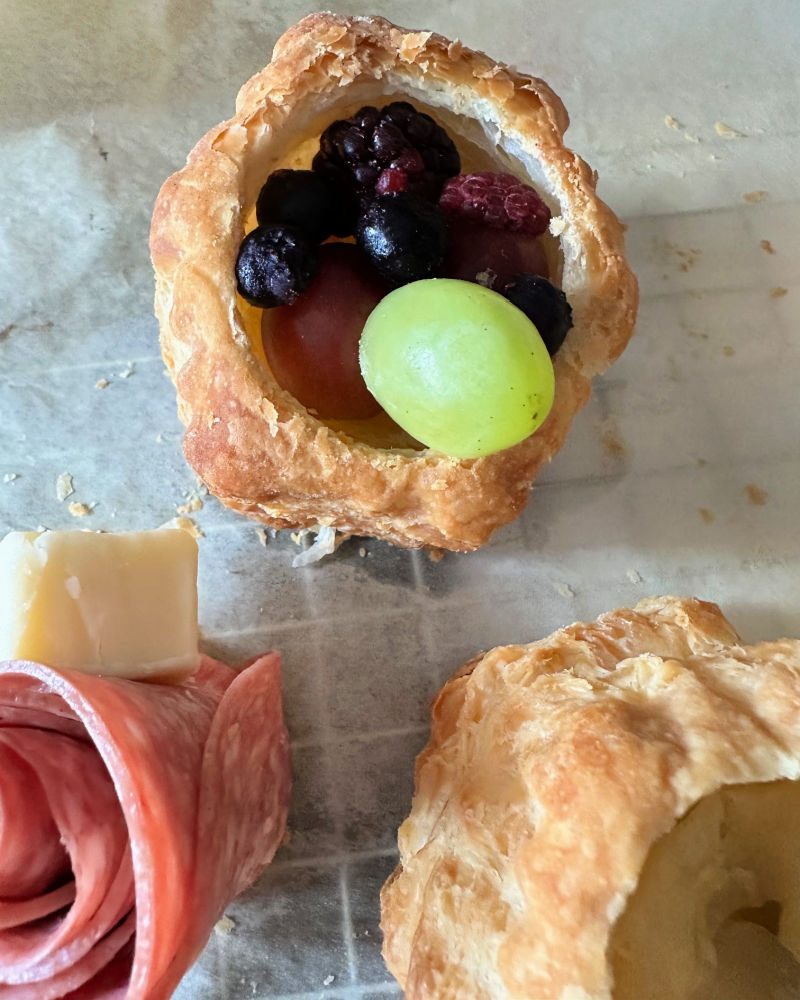
Once the puff pastry has cooled, slowly remove the center of each shell so it is hollow. Feel free to taste test the center!
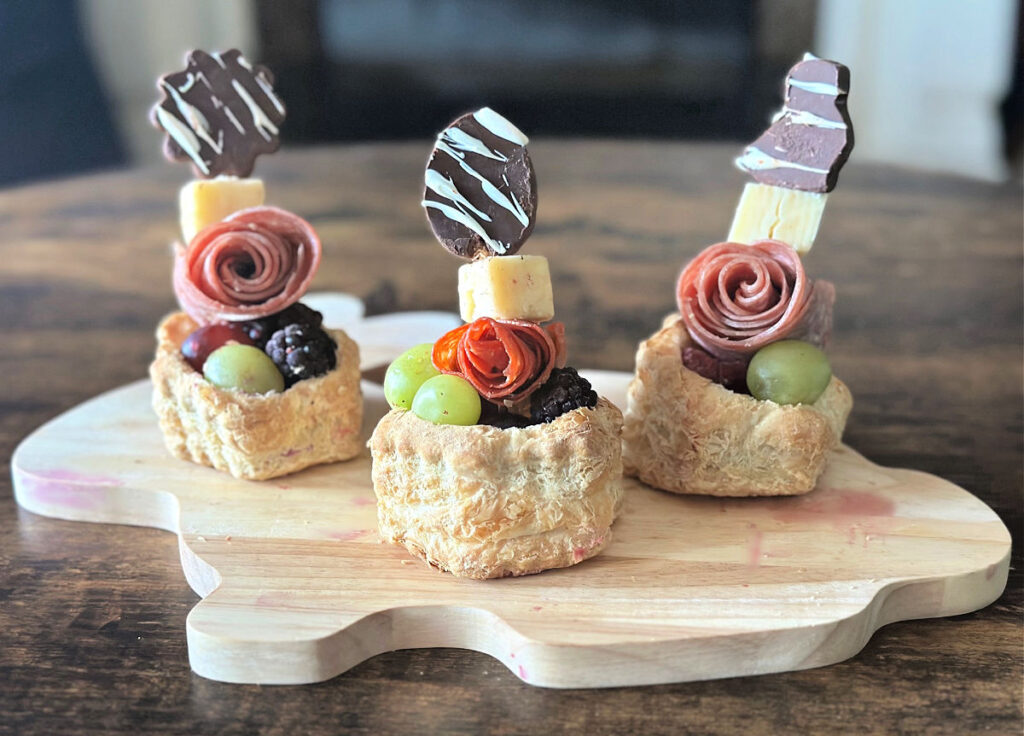
Now it’s time to add your charcuterie ingredients to the pastry shell. Fill with grapes, raspberries, blueberries and blackberries for a vibrant mix of colors.
Top with the meat and cheese skewer and ensure it is evenly secured.
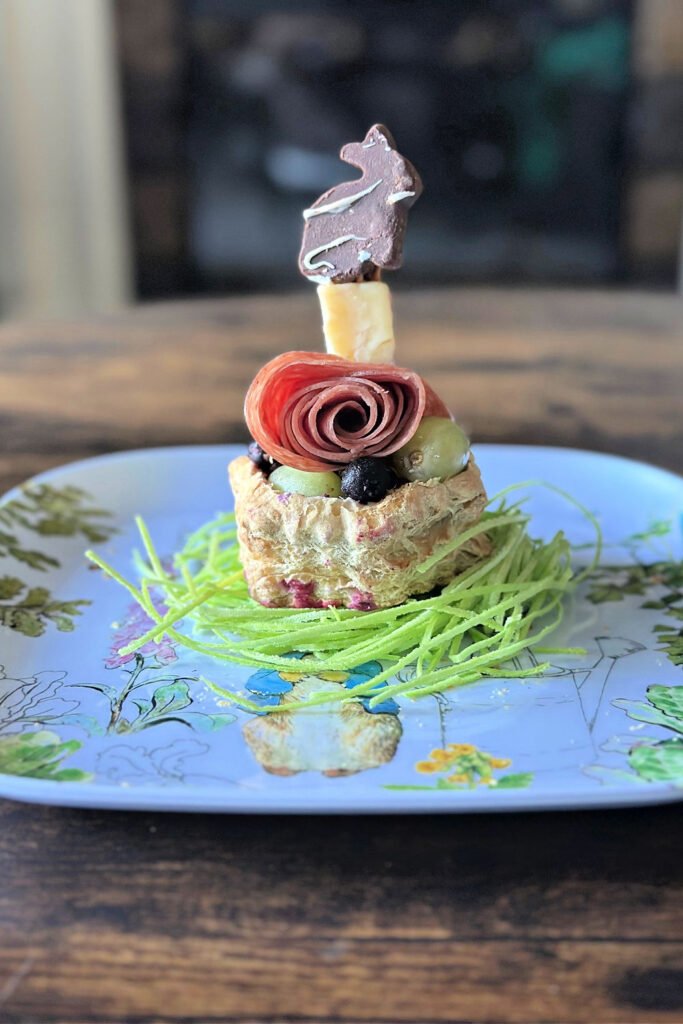
Step 5. Finish with Homemade Easter Chocolate
The last step is to add a cute chocolate Easter cut-out. They can be placed on top of the skewer.
The little bunny and baby chick are my favorite!
Display on a bird’s nest of edible grass at each place setting, or serve on a charcuterie board for guests.
You can even add a place tag to the charcuterie cups at each place setting. Such a great way to personalize your tablescape.


There is something about taking that extra step that makes guests feel welcome. And, this is such an easy way to do that!
You may also want to check out this Easter charcuterie board for another simple and festive treat.
Please share this article with your friends on Pinterest by pinning the below image.
It helps my blog grow and doesn’t cost a thing!
Thanks so much for stopping by. Happy Easter!

You can follow me on social media here: