Easy Mini Cake Ideas With Decorating Tips
These mini cake ideas are the perfect way to impress guests with personal-sized desserts that are as cute as they are delicious!
Perfect for birthdays, showers, or anytime you want a bite-sized treat.

This post contains affiliate links. This means if you click the link and buy something, I may receive a percentage of sales at no extra cost to you. Please see my full disclosure here.
I’m sharing two different ways to make adorable mini cakes with different decorating ideas.
Both are super easy and start with a box cake mix if you want to save time. Of course, you can make them with your favorite homemade cake recipe too.
The good news is these sweet treats are being shared as part of #BrunchWeek with several of my blogging friends.
Be sure to read to the bottom of this post so you can see all of the other brunch recipes.

Why You’ll Love These Mini Cakes
What is it about mini-size desserts that are so appealing? Here are just a few reasons.
- Perfectly Portioned – Individual servings make them great for portion control and reduce waste.
- Party-Ready – Great for birthdays, weddings, showers, and celebrations—no slicing required!
- Adorably Elegant – Their small size makes them visually charming and easy to decorate beautifully.
- Fun to Customize – Each cake can be personalized with different flavors, colors, or decorations.
- Easy to Serve – No need for plates or forks—these mini cakes are bite-sized treats!
Ingredients for Vanilla Mini Cakes
The first mini cake recipe is made with a vanilla sheet pan cake and whipped buttercream frosting. Yum!
I didn’t use the cake mold for this first recipe, but I do use it in the second recipe. It is always fun to experiment with different variations.
I’ll let you know which option (a mold, or a sheet cake) is easier at the end.
You will need the following ingredients listed below to make these vanilla mini cakes with buttercream frosting (the exact measurements, nutrition information and full recipe are all in the printable recipe card at the bottom of the post).
- Vanilla Cake Mix – I tried the Sweet Tooth Fairy cake mix from Michael’s for the first time and love it! You can absolutely use your favorite brand, or make homemade.
- Buttercream Frosting – Make your own or save time with store-bought.
- Cake Toppings – Edible Flowers, blackberries, strawberries, raspberries.
- Round Cookie Cutter – If you don’t have a cookie cutter, use a small glass as shown below.

How to Make Mini Cakes with a Sheet Pan Cake
The first tutorial shows how to use a sheet pan cake to create mini cakes. It is such a time-saver and the cool thing is you can make so many different flavors and combinations.
A funfetti cake would be really fun. I’m already thinking about 4th of July cakes with a patriotic theme. Don’t even get me started on the holidays!
Step 1. Mix the Ingredients
Simply follow the instructions for your specific cake mix. Mine called for eggs, water and oil.


Step 2. Bake According to Instructions
Grease a 9×13 cake pan and lightly flour. Bake and let cool completely.


Step 3. Cut and Assemble the Mini Cakes
Now it’s time to cut out the mini cakes. I used a plastic wine glass that I had in my stash from Dollar Tree.


It is the perfect size! But, a 2″ round cookie cutter also works great. Be sure to push the glass down so it cuts to the bottom.

Simply lift the glass and the mini cake comes right out. Place it on a cutting board or other flat surface for decorating.
You should be able to get 12 mini cakes from one 9 x 13 sheet cake.
Step 4. Decorate the Cakes
Now for the fun part; decorating the mini cakes! This is where you can get really creative and experiment.
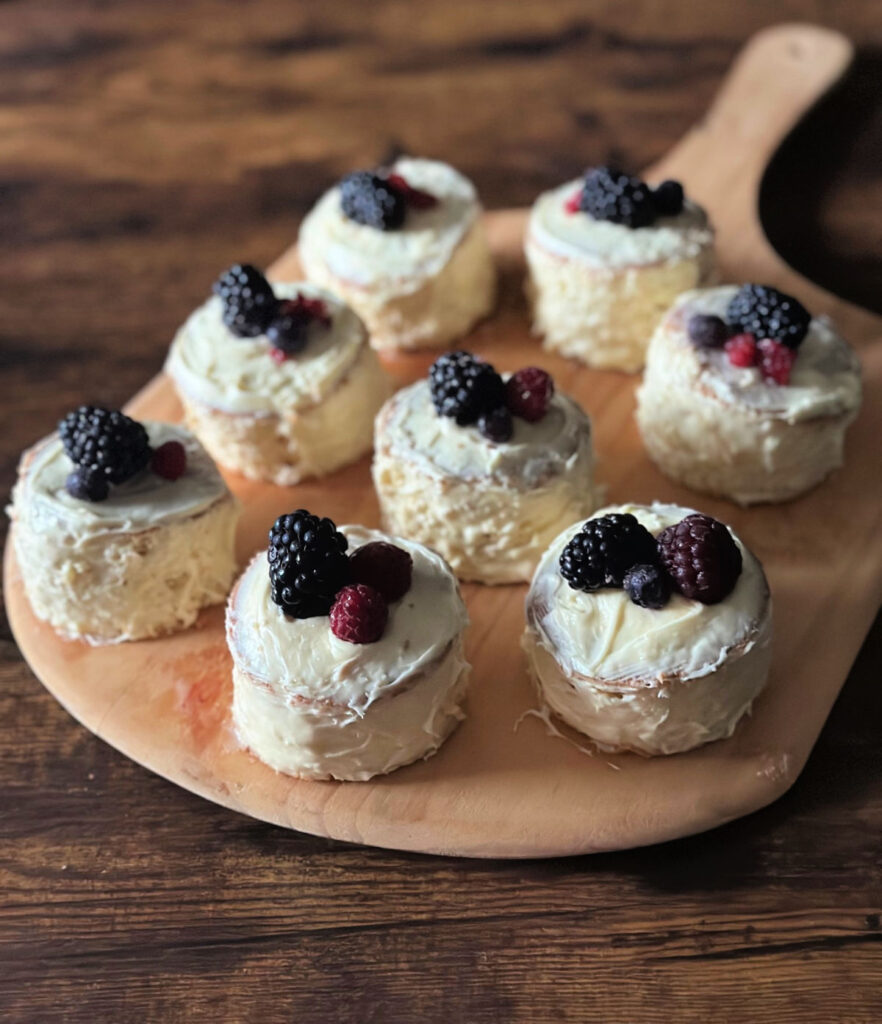
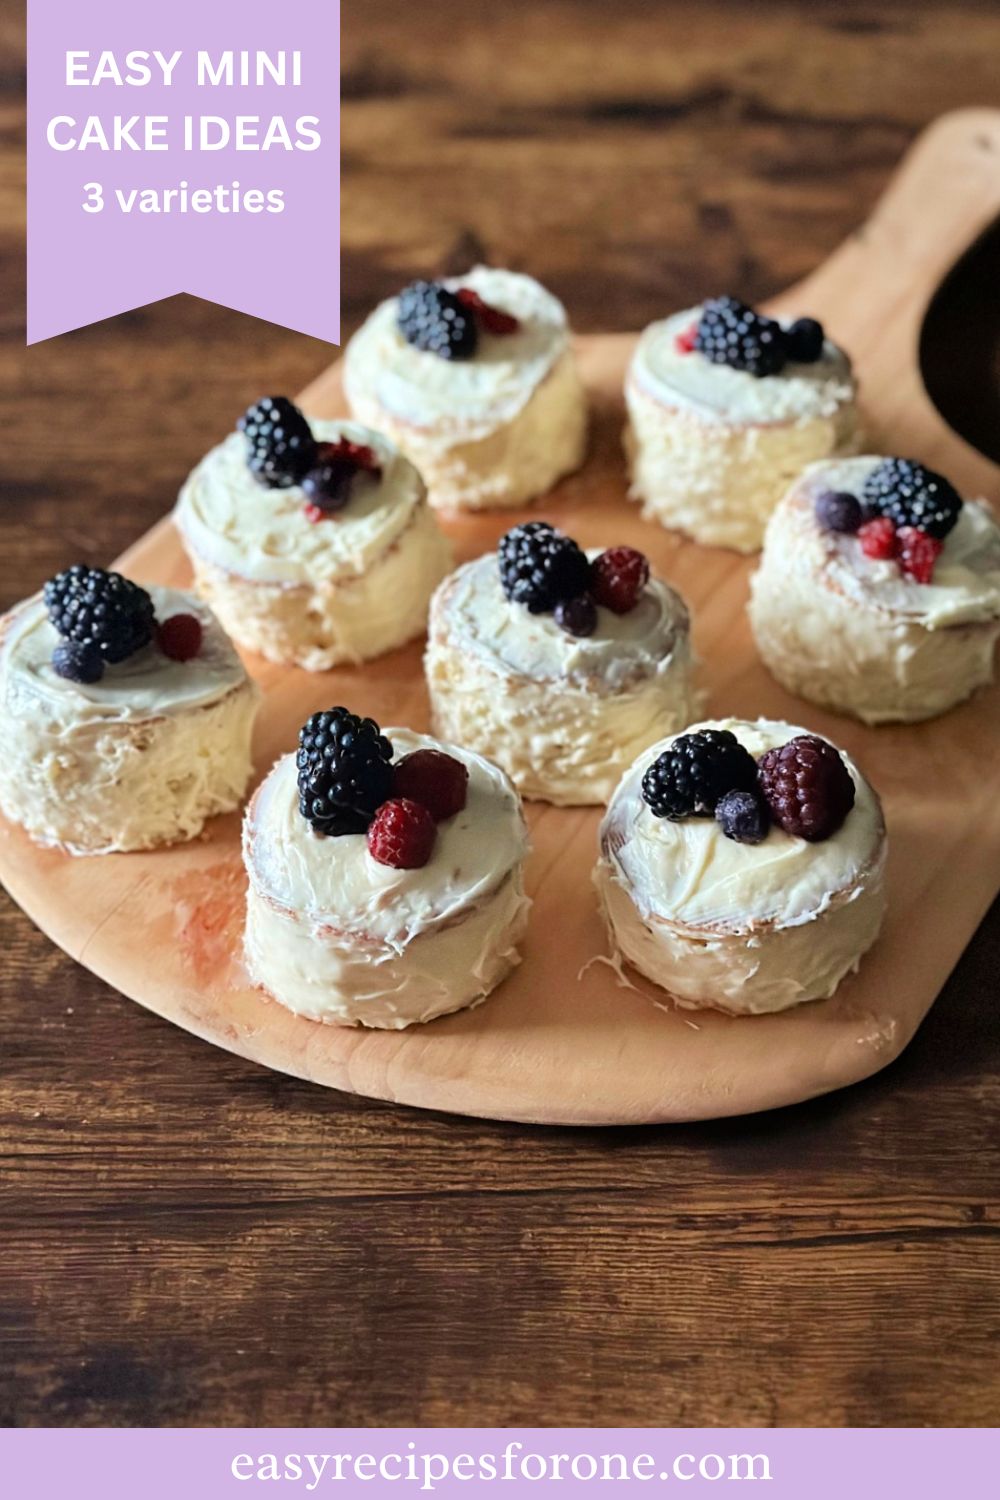
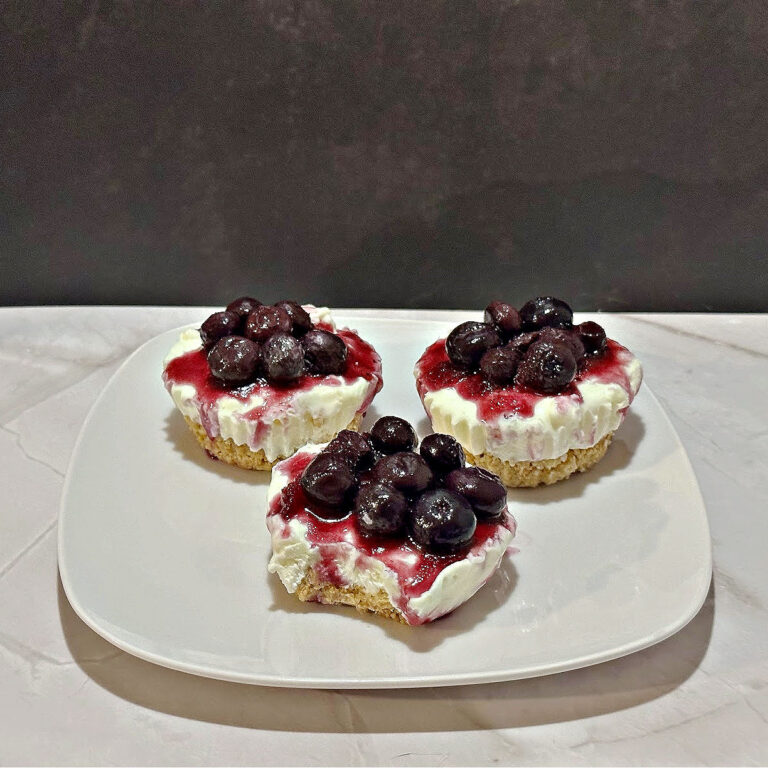
For an elegant look, I kept it simple and went with a semi-naked cake frosting style, topped with fresh blackberries and blueberries.

The fresh fruit pops against the vanilla cake and buttercream frosting. These sweet treats would be great for a bridal shower or wedding.
If you are in a pinch for a party or weekend get together, this dessert is perfect. It comes together quickly, is super affordable and serves 12. Not to mention, it is delicious!

Ingredients for Strawberry Mini Cakes
The next two mini cakes are made with a cake mold, strawberry cake mix and strawberry frosting. This is my son’s absolute favorite!
- Strawberry Cake Mix
- Strawberry Frosting
- Cake Mold – I used this Silicone Cake Mold
- Cake Toppings – Edible Flowers, fresh fruit, sprinkles, edible glitter or any other toppings you would like.

Step 1. Mix the Ingredients
Follow the instructions for your cake mix. Mine called for eggs, water and oil.
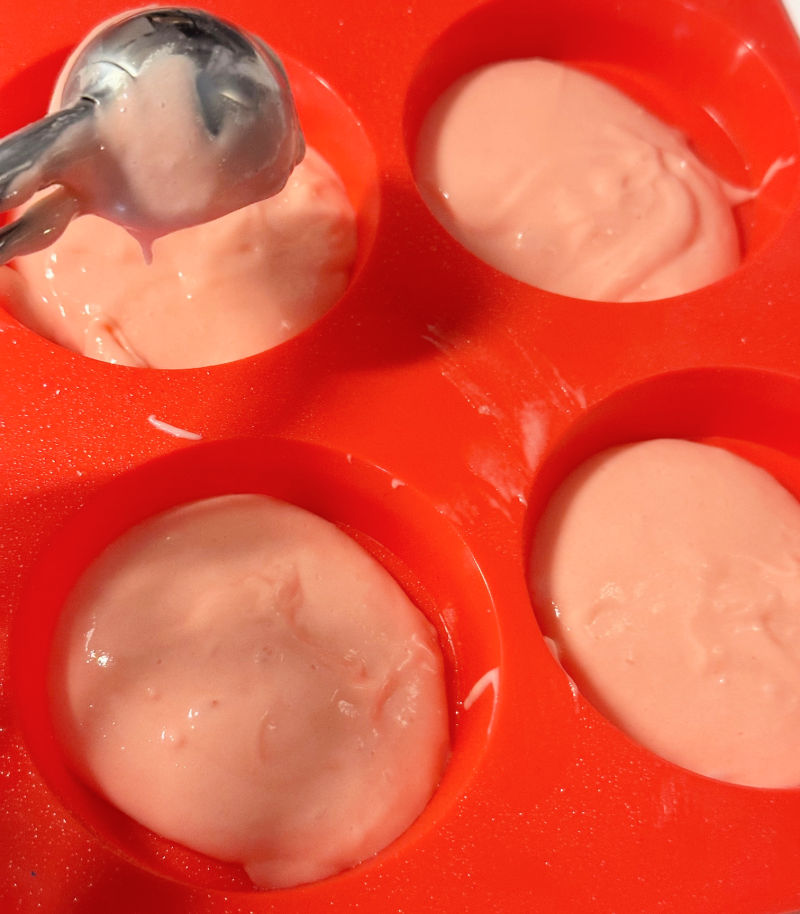
Step 2. Fill the Mold
Fill the mold about 3/4 of the way full. Be sure not to overfill as it will create more of a rounded top. A cookie scoop works great!
Step 3. Bake According to Instructions
It is important to adjust the baking size for the mini cakes. Mine ended up only needing 12 minutes at 350 degrees.


Let cool completely. One box makes 12 mini cakes.
Quick Tip: if the mini cakes are not perfectly even, you can trim the top until it is flat and the layers stack up evenly.
Step 4. Decorate the Cakes
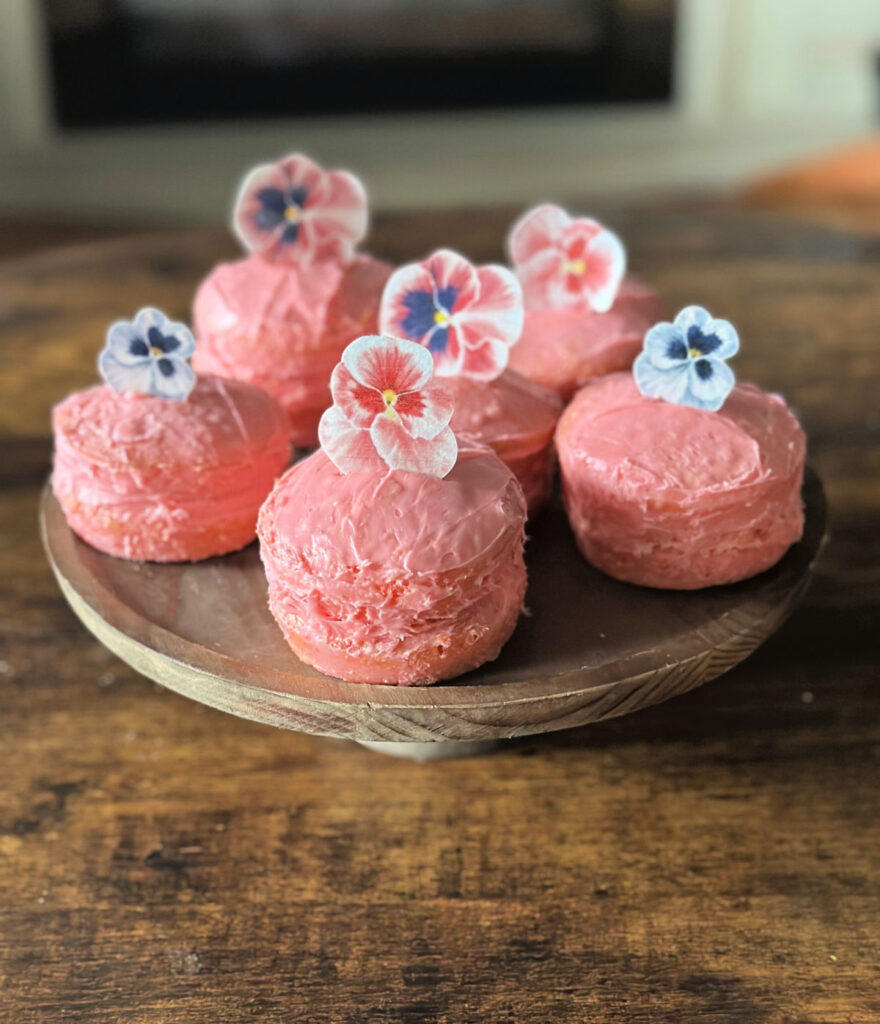
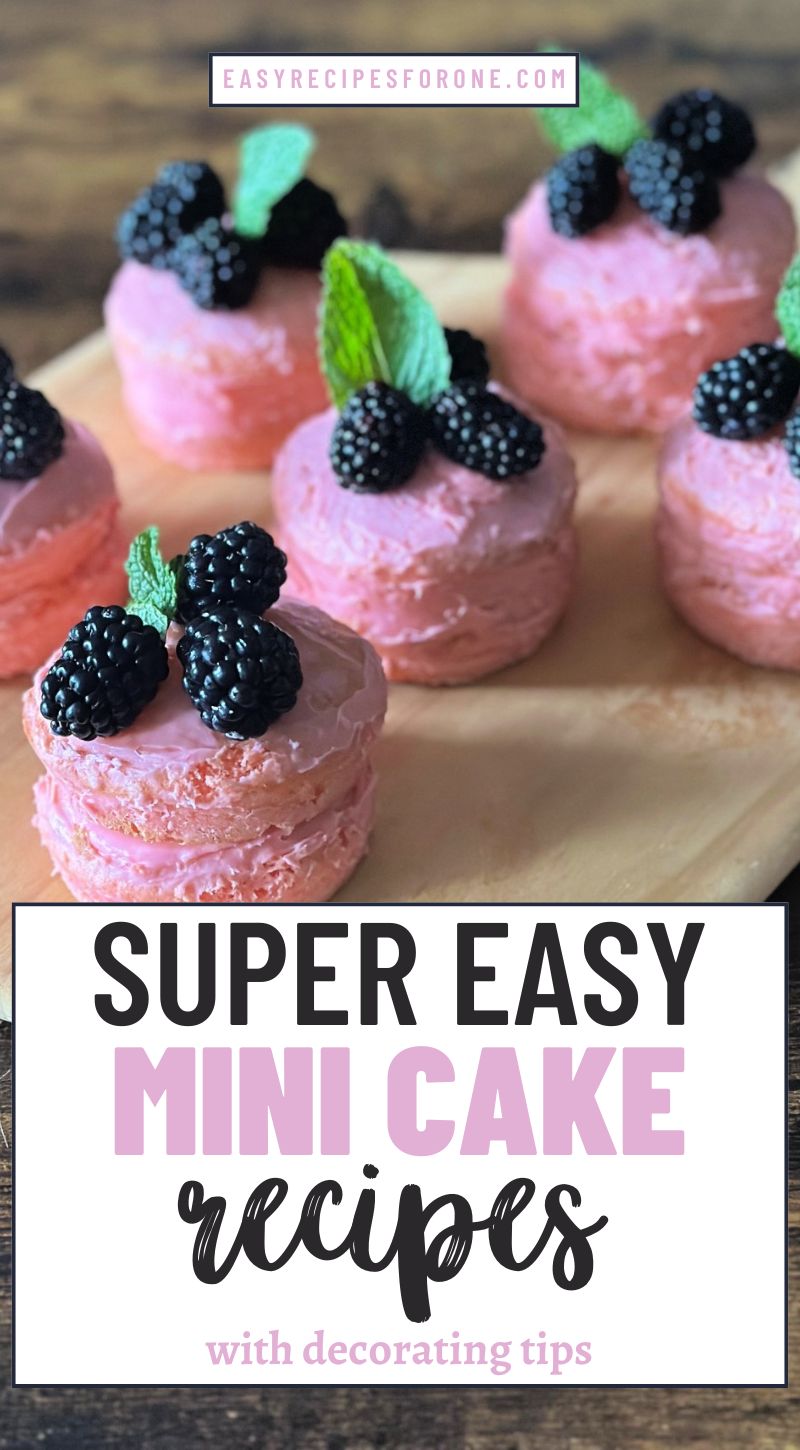
These strawberry mini cakes were super fun to decorate. I love the pink color and again went with a lightly frosted look.
For the first look, I stuck with blackberries, but added mint leaves. These are my favorite!

These would be great for a baby shower, birthday party or wedding shower.

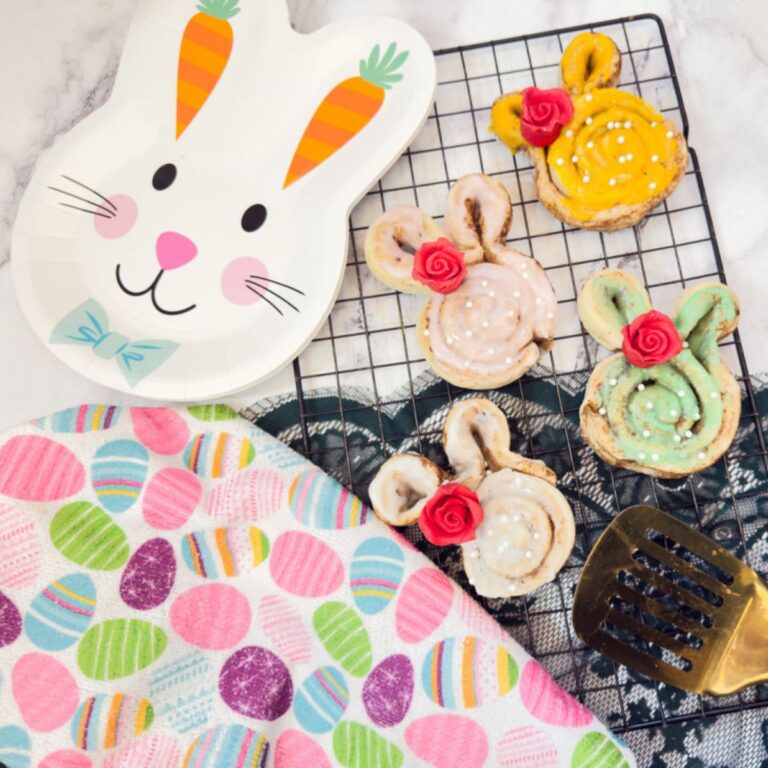
For the last set of cakes, I added the edible flowers that I purchased.
I thought these were going to be real flowers, but they are a wafer. While they look pretty, they are not tasty, so they are more for decoration.

So what do you think? Are you ready to make some mini cakes for your next celebration?
If you do make them, I found the cake mold to be the best option. It is the perfect size.
You can layer 2-3 cakes and add frosting between each layer for an extra bite of sugary goodness.
The sheet pan method is also easy, but it is just one layer and it doesn’t come out as even as the cakes made with the mold.
Please share this article with your friends on Pinterest by pinning the below image.
It helps my blog grow and doesn’t cost a thing!
Now it’s time to see all the other great recipes for #BrunchWeek. Enjoy!
More Brunch Recipes:
- Easy Banana Snack Cake from A Kitchen Hoor’s Adventures
- Lemon Basil Chicken Salad from Jolene’s Recipe Journal
- BLT Eggs Benny from A Day in the Life on the Farm
- Muffin Tin Omelets from Blogghetti
- Rhubarb Crumble Muffins from Hezzi-D’s Recipe Box
- Bloody Mary Shrimp Cocktail from A Little Fish in the Kitchen
- Crown Royal Blackberry Sangria from Our Crafty Mom
- Easy Mini Cakes from Easy Recipes for One
- Chicken Limone from Art of Natural Living
- Baklava Cinnamon Rolls from The Spiffy Cookie
- Cheese Danish Cups from Karen’s Kitchen Stories
Thanks so much for stopping by. Have a great day!

Easy Mini Cake Recipe
Equipment
- Mixer
- 9 x 13 Sheet Pan
- Mixing Bowls
- 2" Round Cookie Cutter or Glass
- Silicone Cake Mold
Ingredients
- 1 box Cake Mix
- 1 can Frosting
- 3 eggs
- 1/4 cup oil
- 1/2 cup water
- Edible flowers, blackberries or other fresh fruit
Instructions
- Preheat the oven to 350°F. Grease and lightly flour a 9×13 sheet pan.
- In a large mixing bowl, mix cake mix, eggs, oil and water until creamy. Pour into a sheet pan.
- Bake the cake according to the instructions on the box, or until a toothpick inserted into the center comes out clean.
- Cool the cake on a wire rack before removing from the pan.
- Transfer to a cutting board, or other flat surface.
- Use a cookie cutter, or round glass to cut 12 mini cakes from the sheet cake.
- Frost each mini cake as desired.
- Decorate with fresh fruit, edible flowers, or any other toppings you desire.
Mini Cakes with Cake Mold
- Preheat the oven to 350°F. Lightly spray the cake mold with non-stick cooking spray.
- Using an electric mixer, add cake mix, water, eggs and oil to the bowl.
- With the mixer on medium-low, mix until blended.
- Stop the mixer and scrape down the sides of the bowl.
- Fill the mold about 3/4 of the way full.
- Bake for 10-12 minutes, or until a toothpick inserted into the center comes out clean.
- Cool the cake on a wire rack before removing from the pan.
- Place 2 mini cakes together adding frosting between the layer.
- Frost the top and sides of the mini cakes as desired.
- Decorate with fresh fruit, edible flowers, or any other toppings you desire.
Notes
You can follow me on social media here:

How fun and pretty are these mini cakes?? I love the edible flowers on top!
What a fun brunch idea! I love tiny desserts!
I have a serious cake mix buying problem and I love recipes like these that justify the collection! Such a pretty presentation and all the flavors sound great.
Love mini desserts and the styling on these is so beautiful!
These are so dainty and cute!! I can think of so many occasions where these little cakes will be just perfect on the dessert table. Thanks so much!
I love the idea of mini bite-sized cakes. What a fun idea! And you can change up the flavors to make them year round!
What a deliciously easy recipe! I am saving this one for when I need mini cakes for parties.