Creamy No Bake Cheesecake Bites Perfect for Summer Parties
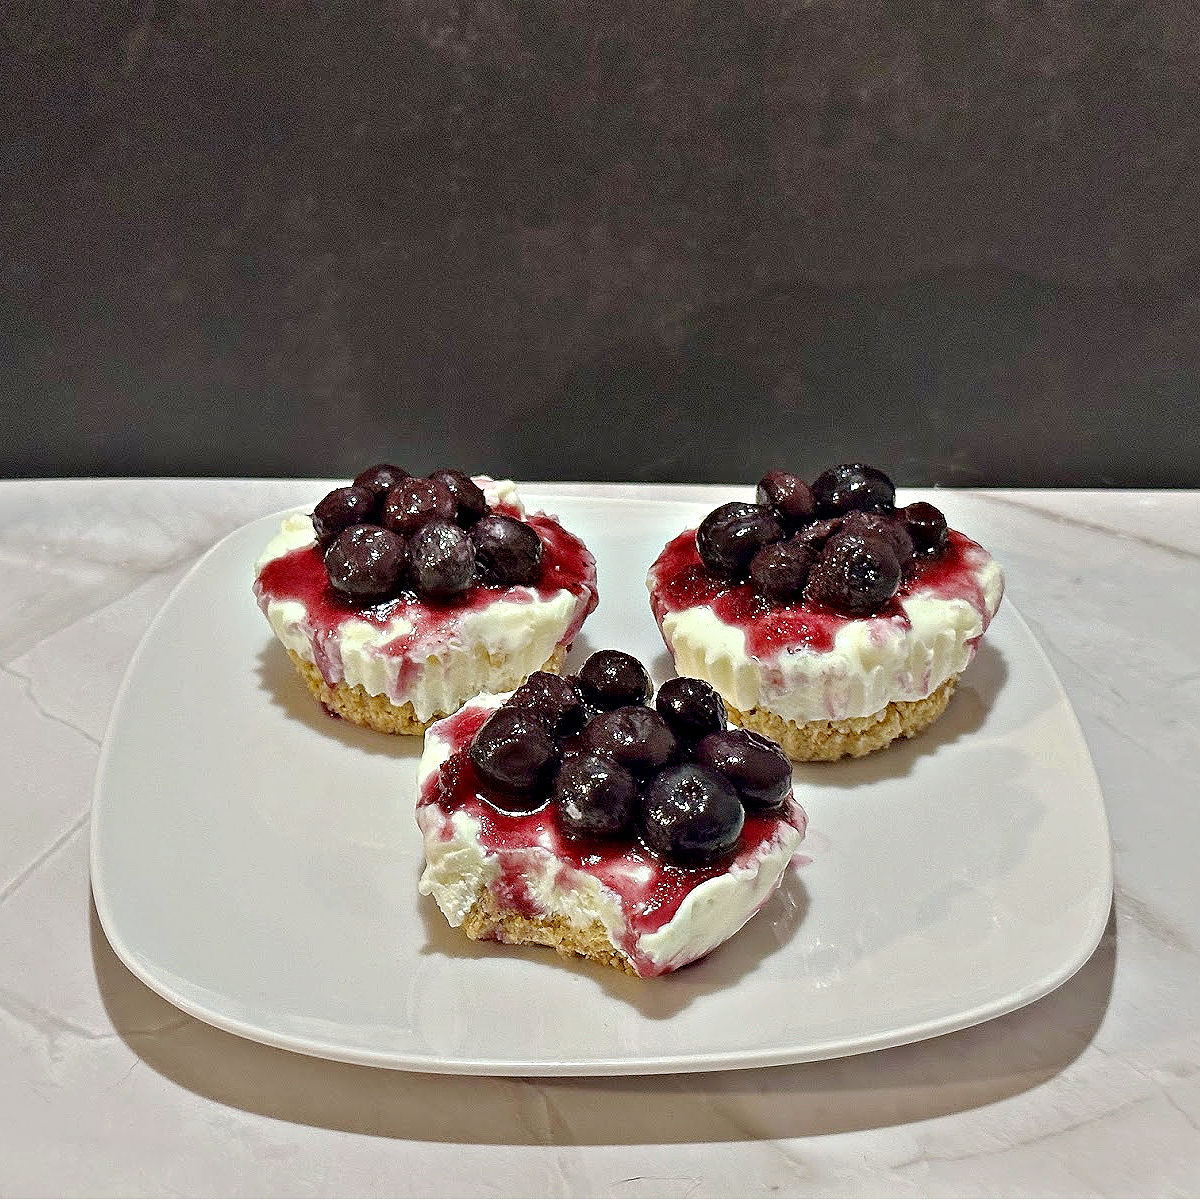
No bake cheesecake bites are the perfect mini dessert, smooth creamy and easy to make. Great for parties, holidays or just because!
Summer Dessert Week
I’m sharing these yummy no bake cheesecake bites as part of #SummerDessertWeek. Once you check out this simple recipe, be sure to visit the other talented bloggers participating this week. You will find the links at the bottom of this post.
Why You Will Love This Mini Dessert
- Quick & Easy – No oven required! These bite-sized treats come together in just minutes with simple ingredients.
- Perfectly Portion-Controlled – Enjoy just the right amount of sweetness in each mini bite—great for parties or snacking.
- Customizable Flavors – Top with fruit, chocolate, caramel, or your favorite garnish to suit any occasion or craving.
- Creamy & Delicious – With a rich, velvety texture and buttery crust, they taste just like classic cheesecake—without the fuss.
- Make-Ahead Friendly – Ideal for prepping in advance, these mini desserts keep well in the fridge and are ready whenever you are!
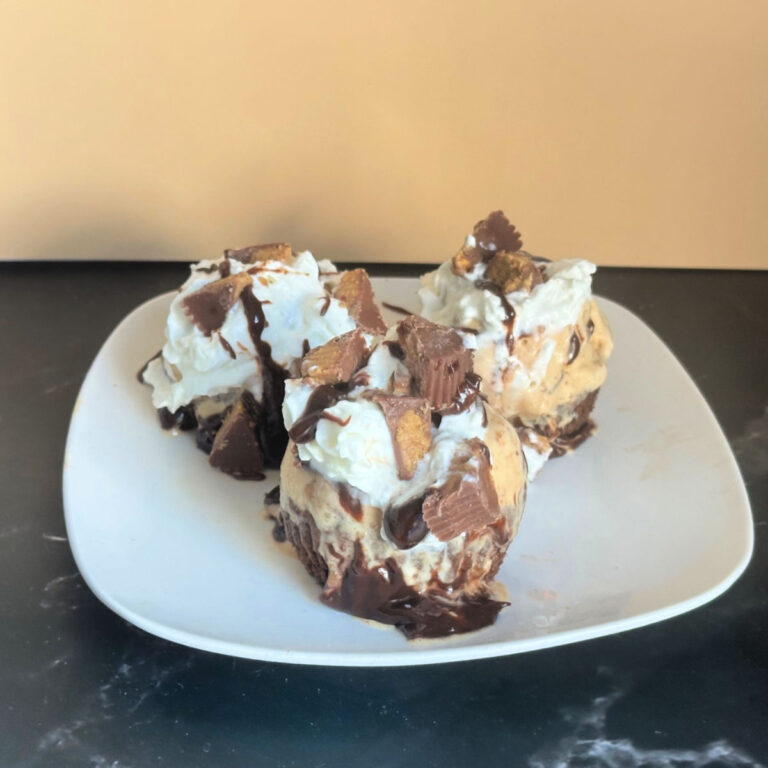
You may also want to try my Reese’s mini ice cream cakes for another quick and easy summer dessert option.
Ingredients Needed for No Bake Cheesecake Bites
You will need the following ingredients listed below to make this no bake dessert (the exact measurements, nutrition information and full recipe are all in the printable recipe card at the bottom of the post).
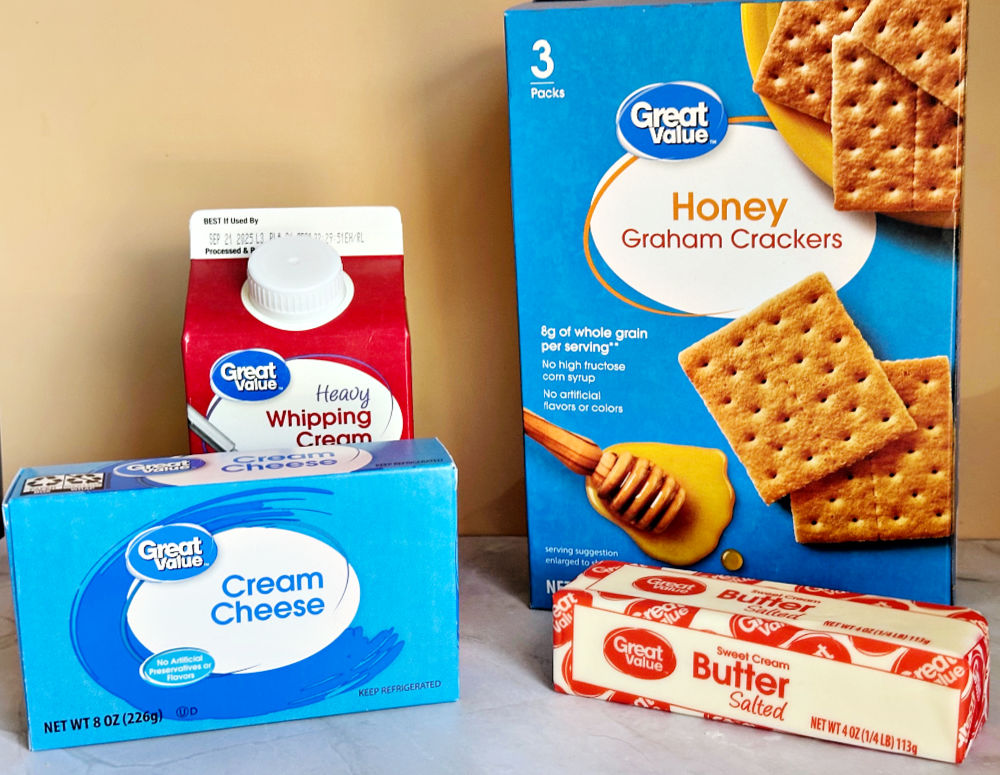
- Cream Cheese – It’s best to use block cream cheese. I don’t recommend using light or fat free. Let it soften for 30 minutes to help avoid lumps.
- Powdered Sugar
- Cream – Use full-fat heavy whipping cream.
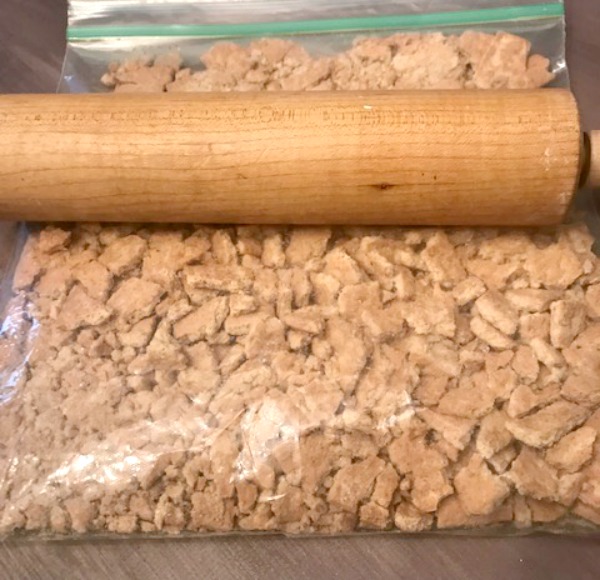
- Graham Cracker Crumbs – I put the graham cracker crumbs in a ziploc bag and crush them with a rolling pin. It’s a good stress reliever too!
- Butter
- Toppings – I am using blueberries, but you can use your favorite. Why not make an assortment of toppings to give guests an option?
KITCHEN TOOLS
- Baking Spatula
- Mixer – my Kitchen Aid Mixer is going strong after many (many) years.
- Muffin Tin – this recipe makes 12 cheesecake bites
How to Make No Bake Cheesecake Bites
Step 1. Prepare the Crust
Mix the graham cracker crumbs, 2 tablespoons of powdered sugar, and melted butter in a mixing bowl until the mixture looks like wet sand.

Step 2. Fill the Muffin Tins
Line a muffin tray with cupcake liners. Place 2 tablespoons of the crumb mixture into each liner, pressing it down using the back of a spoon.
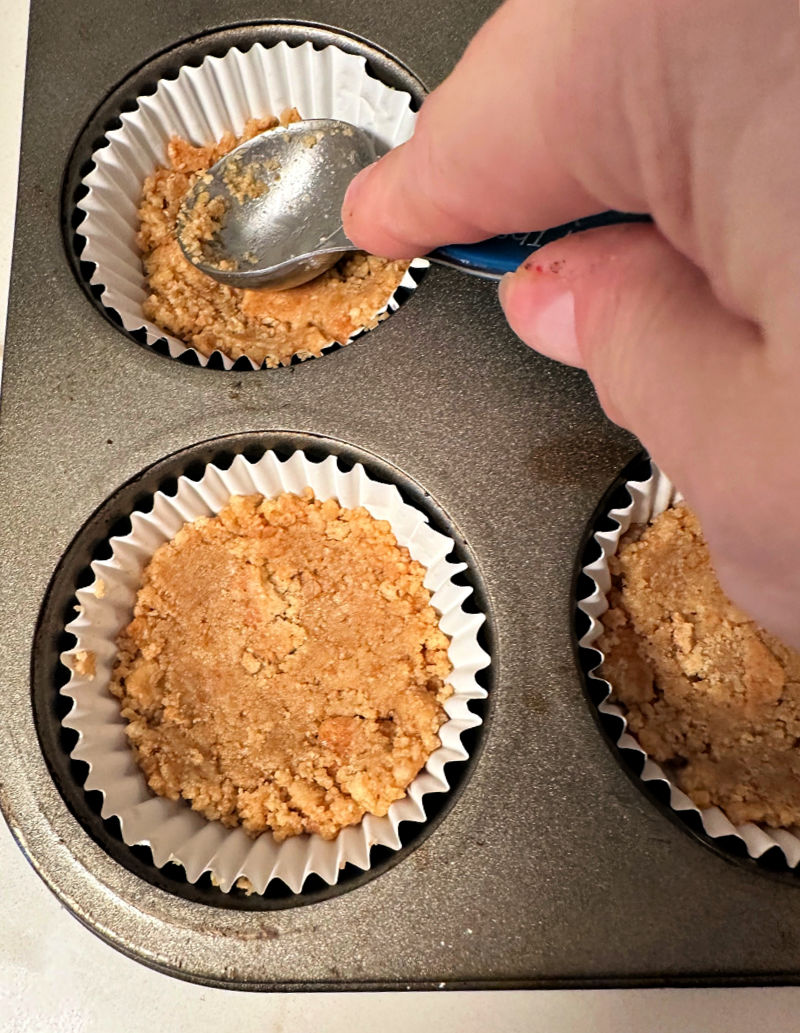
Place the tray in the refrigerator to set while you make the filling.
Step 3. Prepare the Cheesecake Mixture
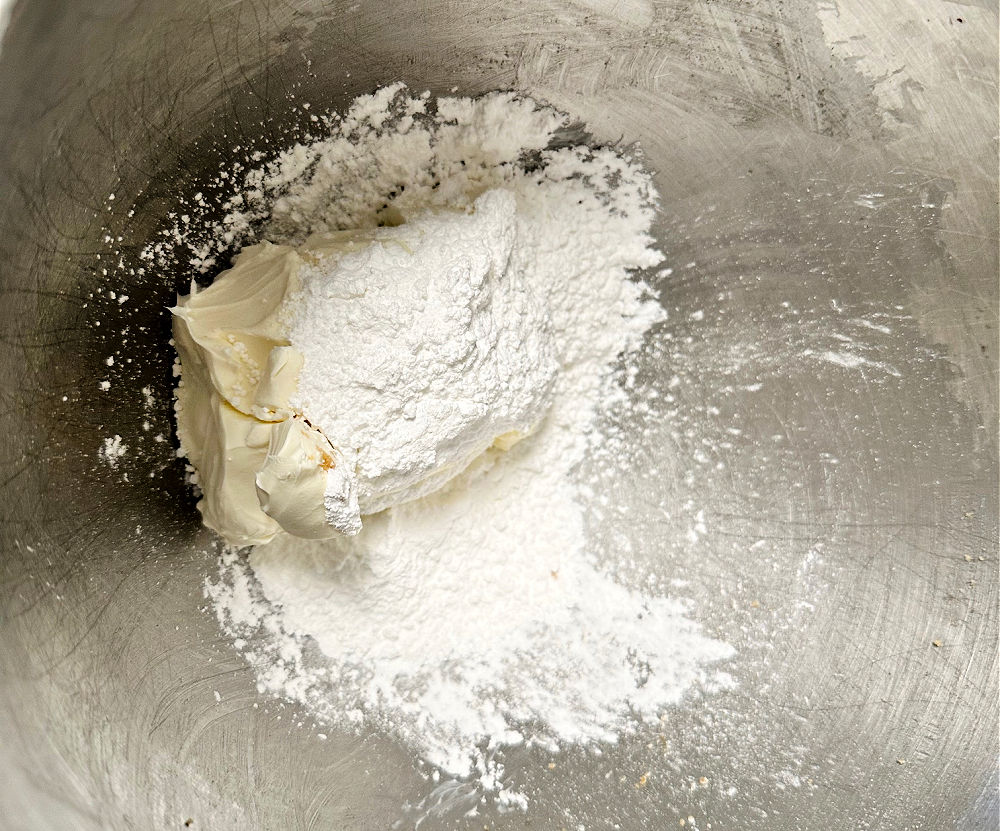
Using a hand mixer or a stand mixer with a paddle attachment, beat the room temperature cream cheese and powdered sugar until smooth and creamy on medium speed.
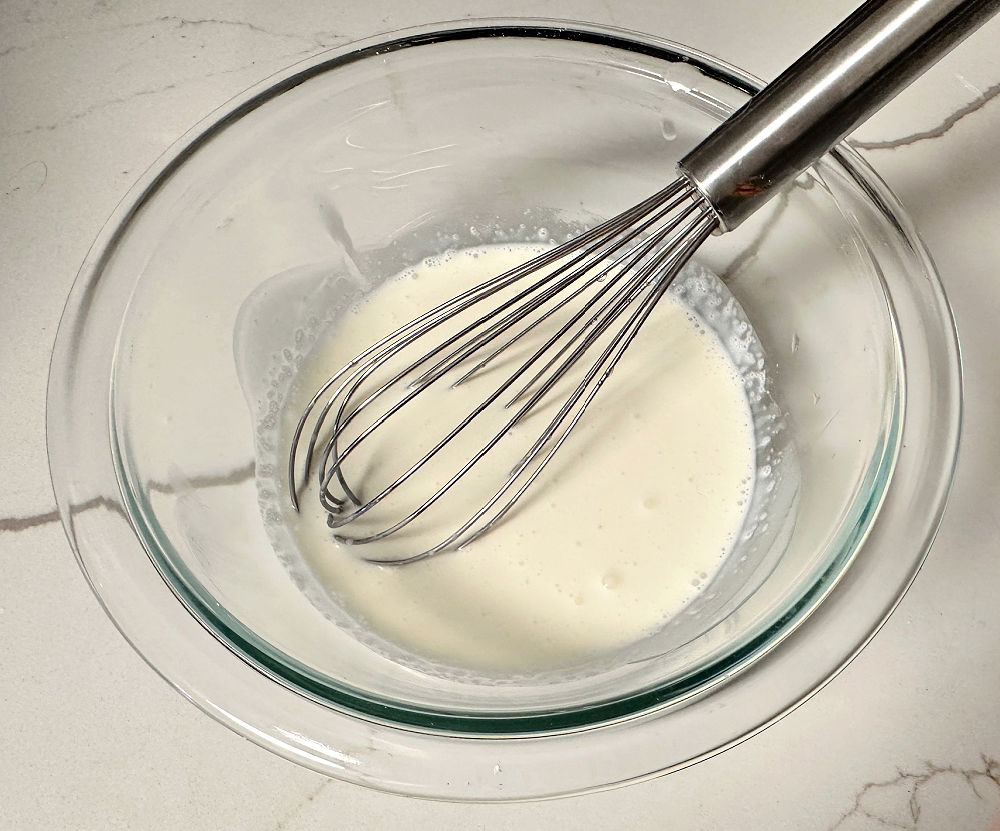
In another bowl, whip cold heavy cream using a whisk until stiff peaks form.
Gently fold the whipped cream into the cream cheese mixture.
Step 4. Chill the Cheesecake Mixture
Use a cookie scoop to place two scoops of the mixture into each muffin tin.
Chill them in the refrigerator for at least 2 hours to allow them to set. For best results cover with saran wrap and place them back in the refrigerator a minimum of 4 hours.
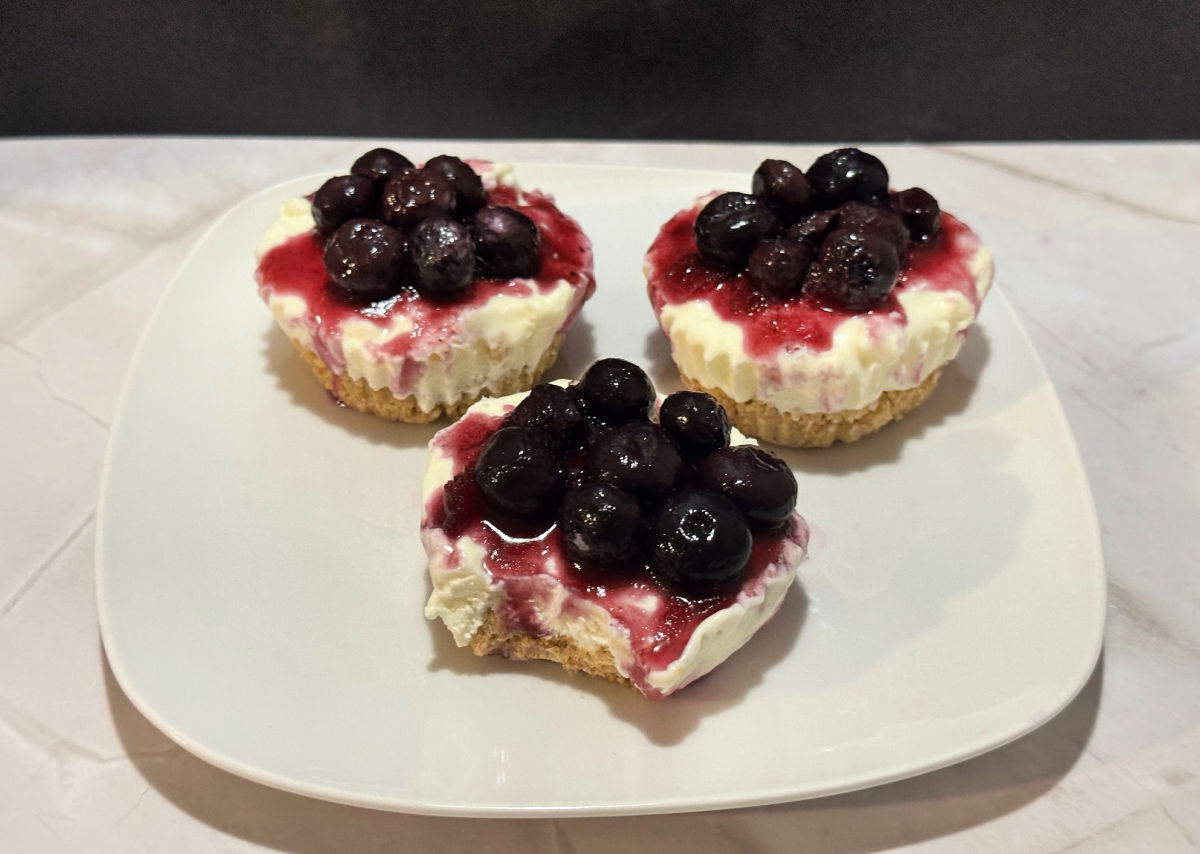
Once they are set, top them with your favorite cheesecake topping and enjoy. You can also enjoy them plain if you like. They are rich and creamy and delicious on their own!
I made a fresh blueberry sauce with a bit of sugar and cornstarch to thicken it. I’m thinking of apple caramel cheesecake bites for the fall!
Save This Recipe For Later
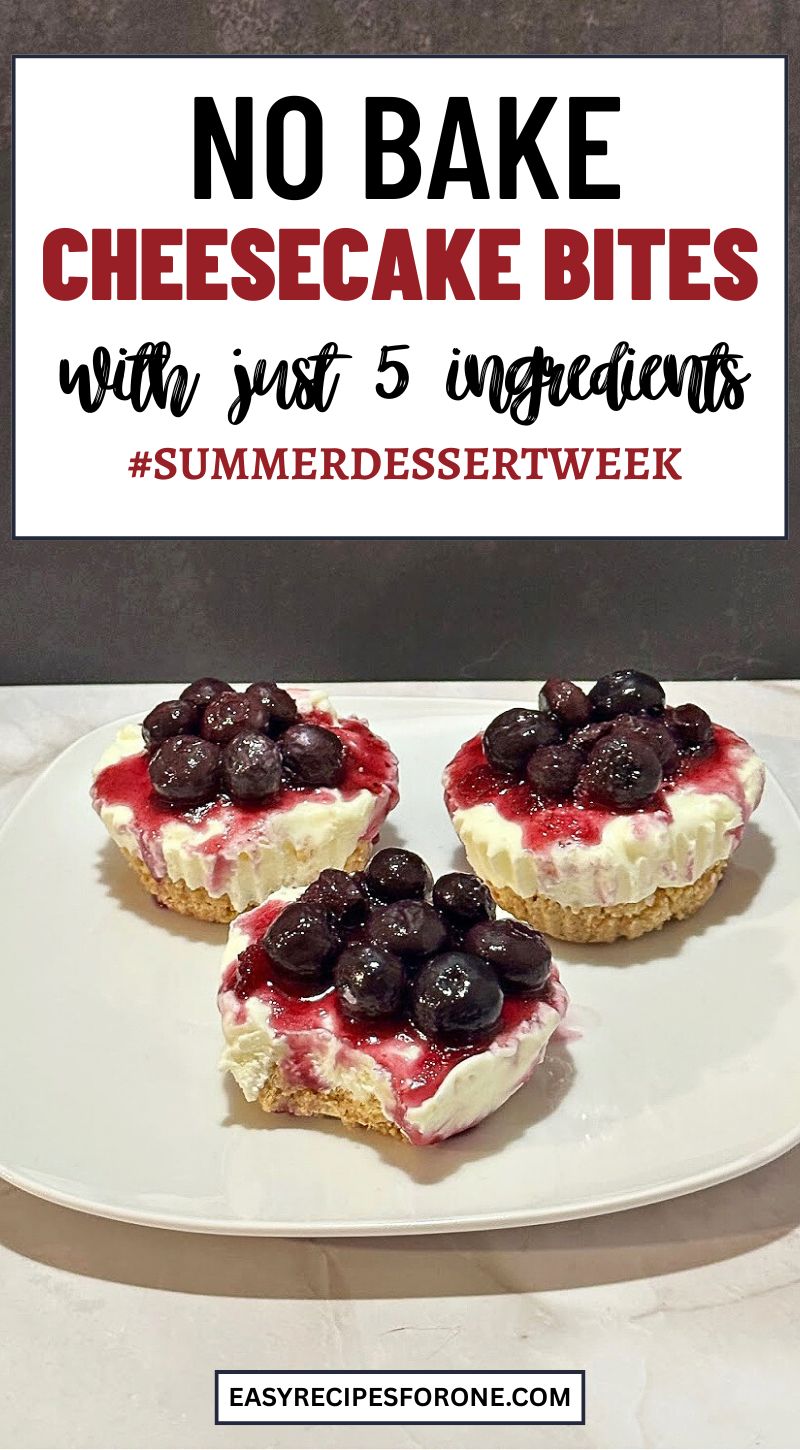
I’d love it if you would share this article with your friends on Pinterest by pinning the below image.
It helps my blog grow and doesn’t cost a thing!
How to Store Mini Cheesecake Bites
Refrigerate: After the mini cheesecakes have set, transfer them to an airtight container or cover the muffin pan securely with plastic wrap. Keep them chilled in the fridge until you’re ready to serve.
Best Enjoyed Within: While they can last up to 3–4 days in the refrigerator, they’re at their creamiest and most delicious if eaten within 2–3 days.
Freezer-Friendly: For longer storage, freeze the cheesecake bites on a baking sheet until firm. Then move them to a freezer-safe container or zip-top bag, squeezing out excess air. Don’t forget to date the container! They’ll keep well for 1–2 months. When you’re ready to serve, let them thaw overnight in the fridge.
Summer Dessert Week
Welcome to this year’s #SummerDessertWeek event hosted by Angie from Big Bear’s Wife.
We’ve got 10 spectacular bloggers/ blogs creating some of the best summer desserts this week and sharing the recipes! We will be sharing our recipes on our blogs (some of those recipe links posted in this post) and on social media with the hashtag #SummerDessertWeek
We hope you’ll find some new favorite recipes this week and have fun with us as we celebrate summer!

- No-Churn Key Lime Cheesecake Ice Cream from Big Bear’s Wife
- Blackberry Crumble Pie from Cheese Curd In Paradise
- Easy Key Lime Pie from Blogghetti
- Strawberry Shortcake Pudding Shot from Sweet ReciPEAs
- No-Bake Cheesecake Bites from Easy Recipes For One
Thanks for stopping by. Happy baking!

No Bake Cheesecake Bites
Equipment
- Mixer
- Mixing Bowls
Ingredients
- 1 cup Graham Cracker Crumbs
- 1/2 cup Powdered Sugar
- 5 tbsp Melted Butter
- 8 oz Cream Cheese
- 3/4 cup Heavy Whipping Cream
Instructions
- Mix the graham cracker crumbs, 2 tablespoons of powdered sugar, and melted butter in a bowl until the mixture looks like wet sand.
- Line a muffin tray with cupcake liners. Place 2 tablespoons of the crumb mixture into each liner, pressing it down using the back of a spoon.
- Place the tray in the refrigerator to set while you make the filling.
- Using a hand mixer or a stand mixer with a paddle attachment, beat the room temperature cream cheese and powdered sugar until smooth and creamy on medium speed.
- In another bowl, whip cold heavy cream using a whisk until stiff peaks form.Gently fold the whipped cream into the cream cheese mixture.
- Use a cookie scoop to place two scoops of the mixture into each muffin tin.
- Chill them in the refrigerator for at least 2 hours to allow them to set. For best results cover with saran wrap and place them back in the refrigerator a minimum of 4 hours.
- Once they are set, top them with your favorite cheesecake toppings.
Here are even more easy recipes you may enjoy:
- Chicken Caesar Lettuce Boats
- Breakfast Yogurt Banana Split
- Flatbread Breakfast Pizza
- 15+ Easy Chicken and Rice Recipes
- 30 Tasty Sandwich Wrap Recipes
- Pizza Sliders on Hawaiian Rolls
- 15 Easy Sliders on Hawaiian Rolls
- Buffalo Chicken Wing Dip with Rotisserie Chicken
You can follow me on social media here: